English version of [[航空宇宙業界] Swagelokを施工する初心者に読んで欲しい5つのこと③【カシメ編】](https://www.genba-log.com/articles/20d5c2d8-a1d1-49cc-a077-87da1d5d09d4)
In earlier parts we covered How It Works, Why It Matters, Cutting, and Deburring.
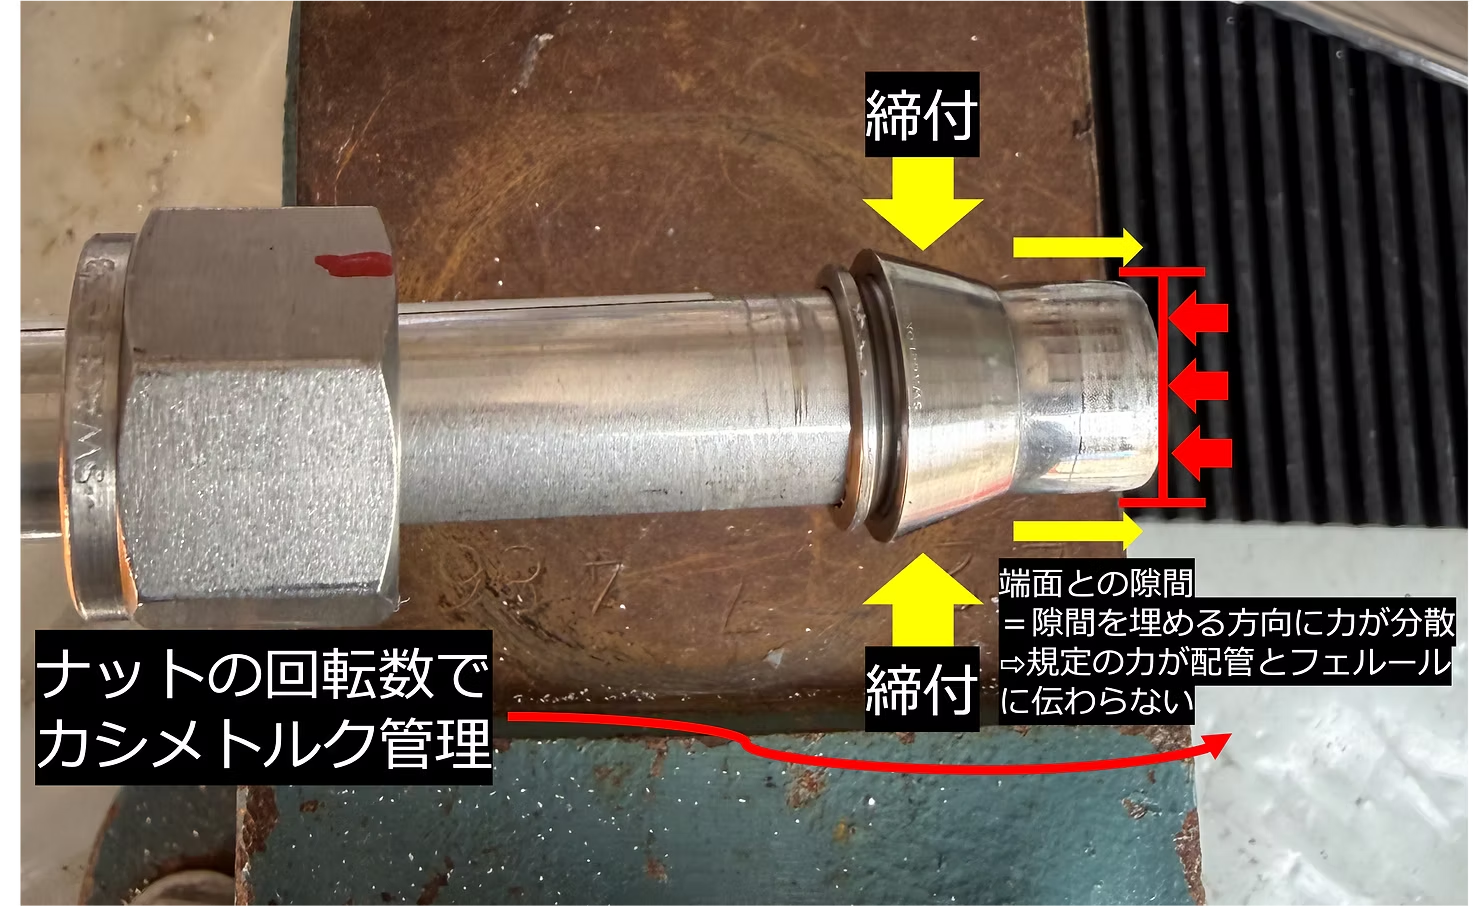
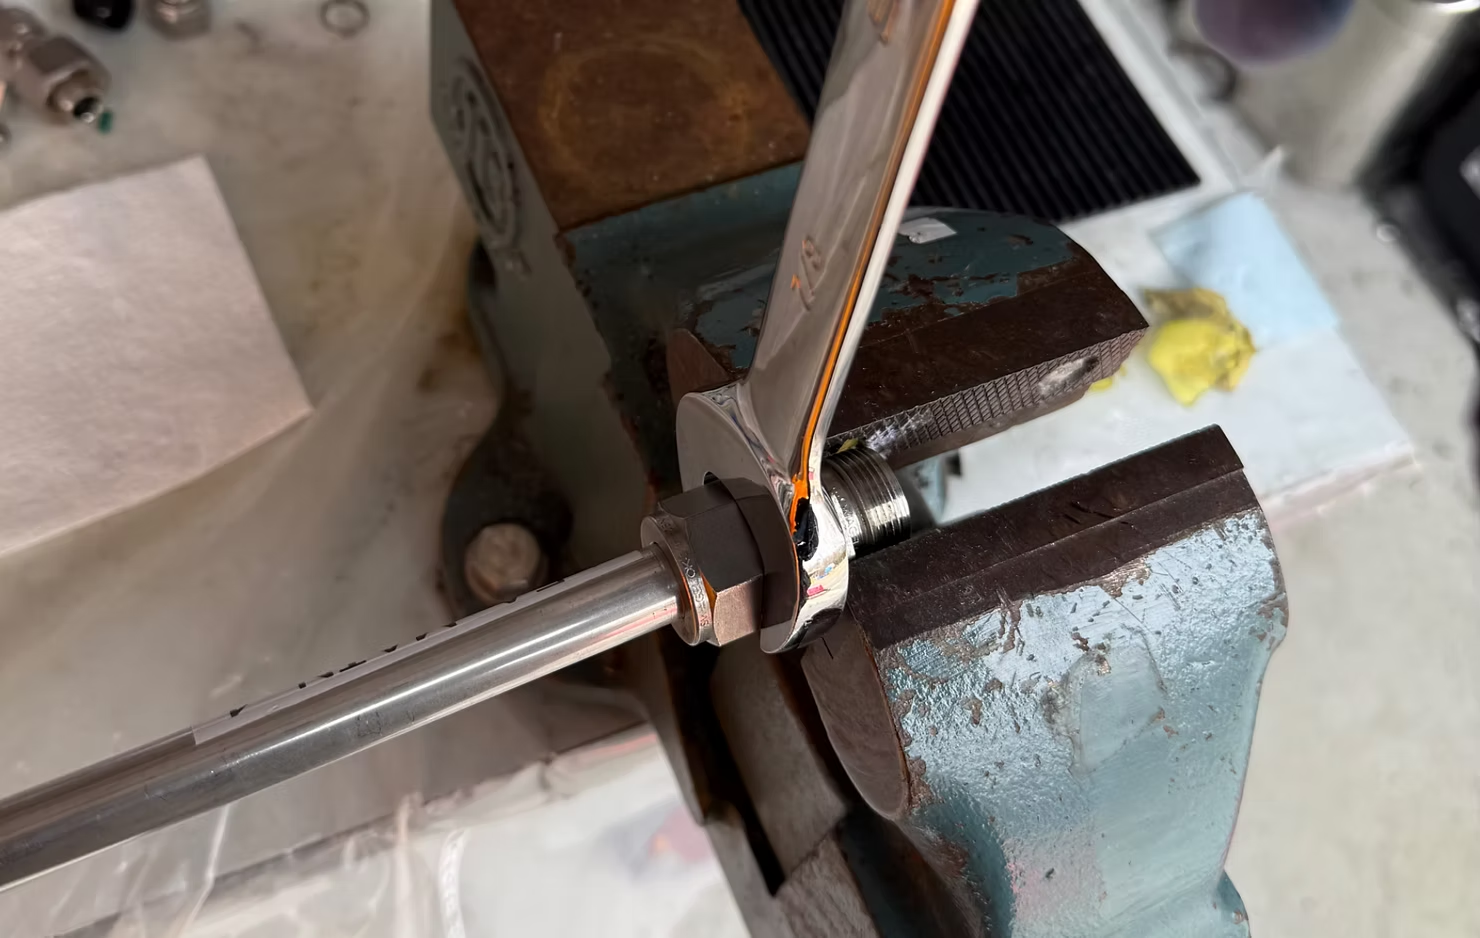
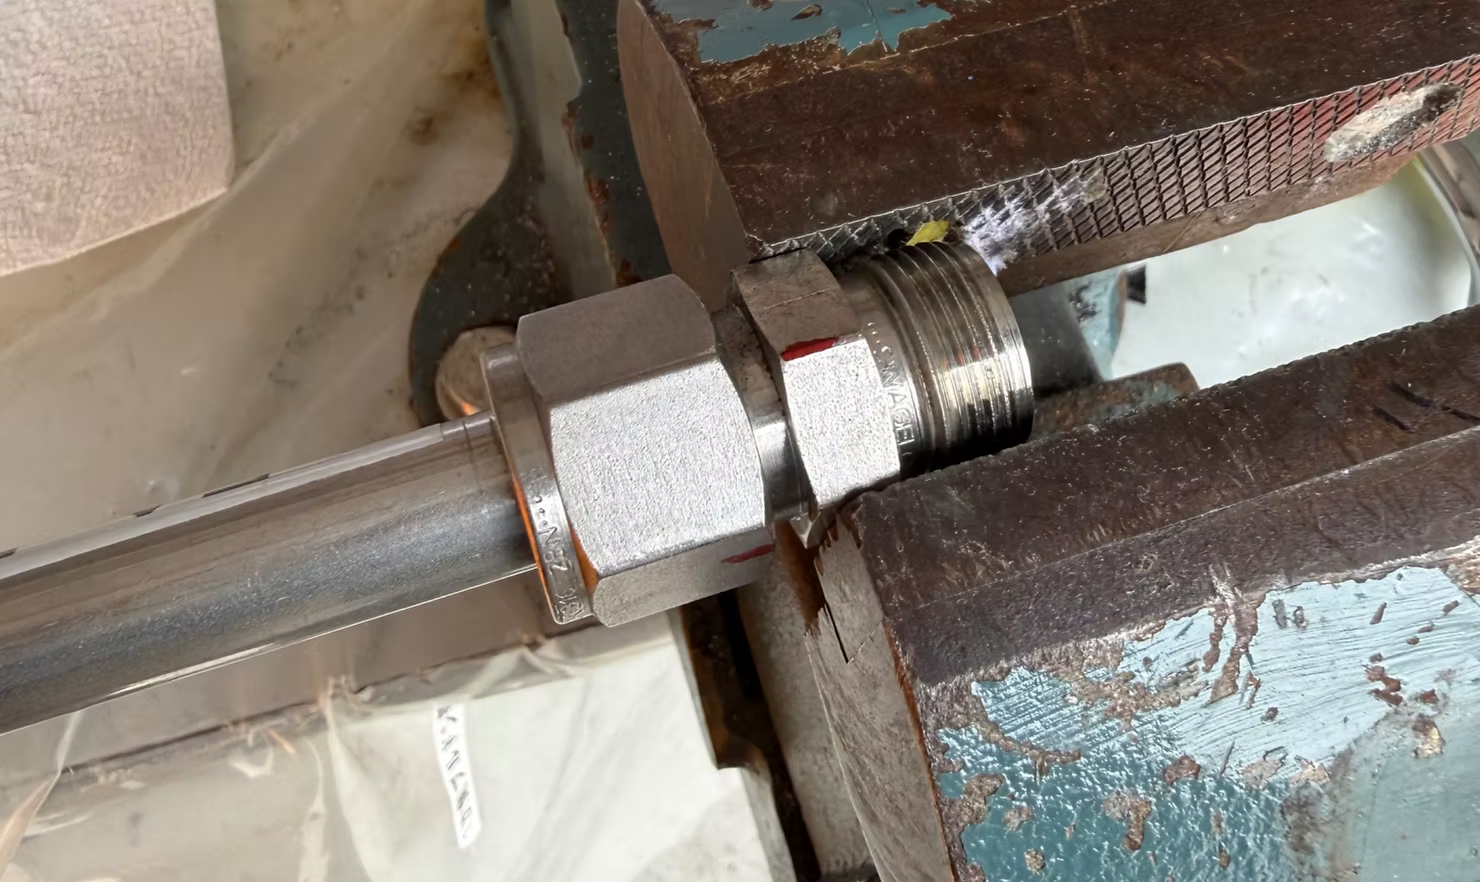
This final part covers swaging / make-up of the ferrules.
Installation step 3: Swaging the ferrules
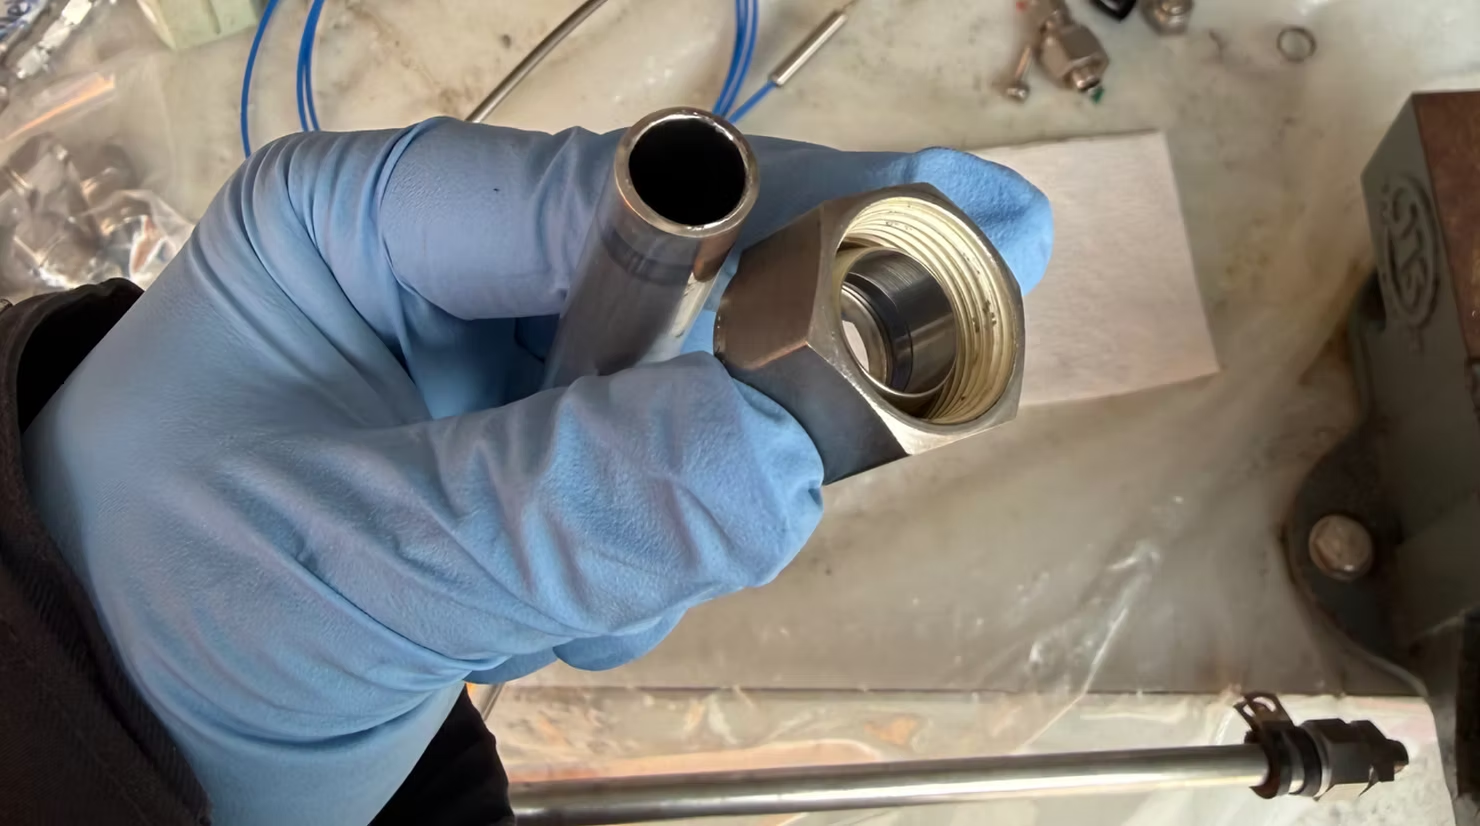
Last time we cut the tubing and cleaned the end face and ID burrs as shown. Now we install the fitting on the right.
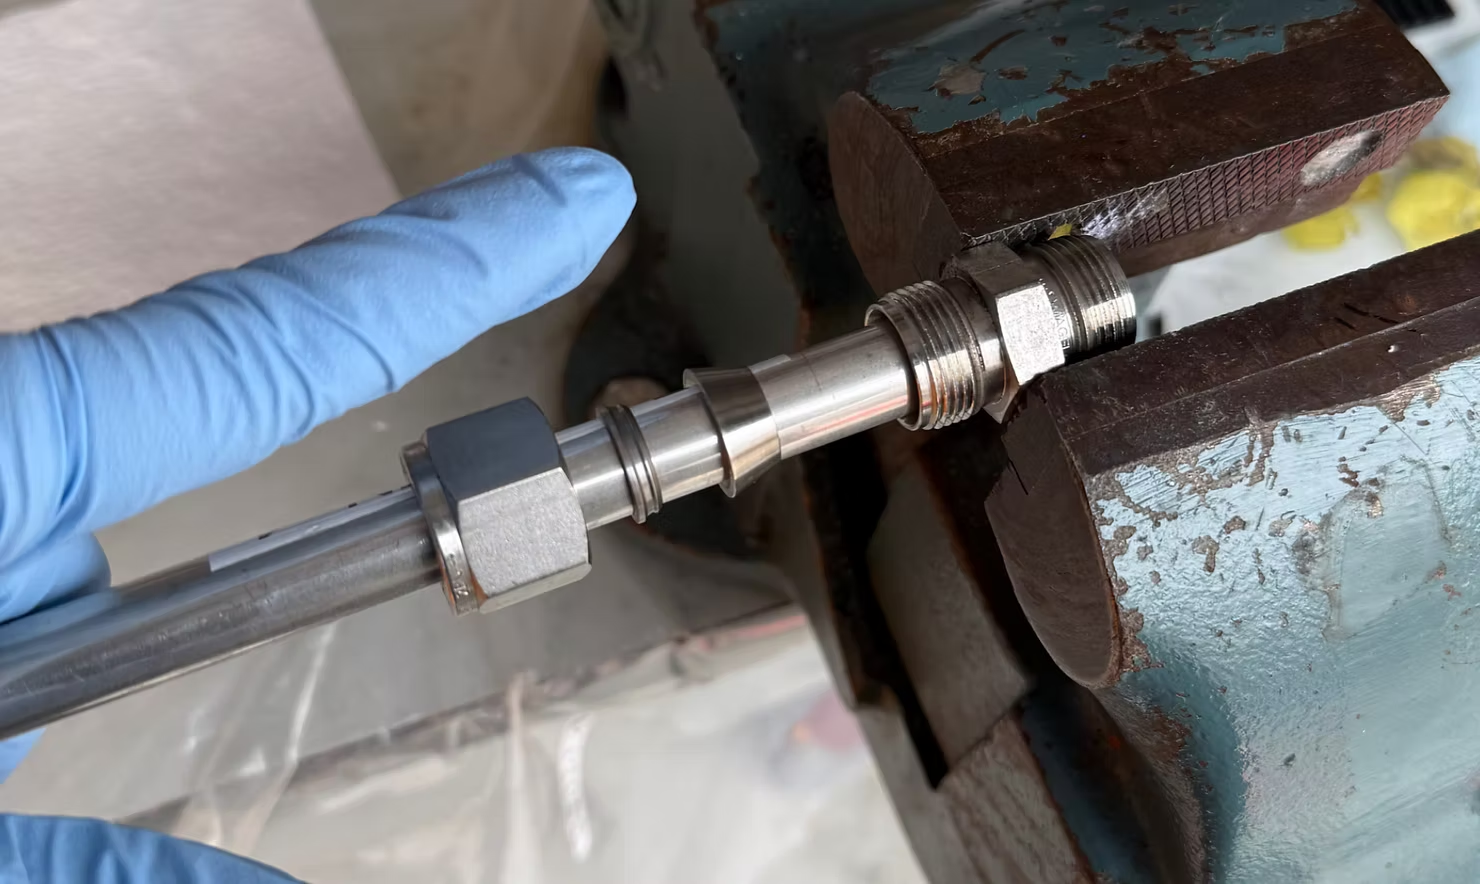
Slide onto the tubing, from left: nut, back ferrule, front ferrule.
Pay attention to back-ferrule orientation. If it is reversed, the back of the front ferrule will not be supported correctly as the nut is tightened.
※ Here the male fitting is held in a vise for clarity. In normal work you usually make up directly on the line.